How to Use "My Trades" Page


Hi Trader, my name is Nikita and I will explain to you how to use "my trades" page.
For those who are too lazy to read, we've got Video instruction 😎
After adding the API key, all your trades will be downloaded via the API and available in the table-form.
Interface
There are shown by default all possible columns in the table, so it is wide enough and doesn't fit on laptop screens. We'll fix this a little later. For now, you can use the scroll bar at the bottom of the table to see all the columns.
Some columns will become available only after moving to the "Trader" and higher level.
If you have a question to what this or that column means, hover over the "question" icon in the header.
You can use the arrows in the lower right corner of the table to navigate through the pages. There, you can also choose how many trades on one page you want to see at the same time.
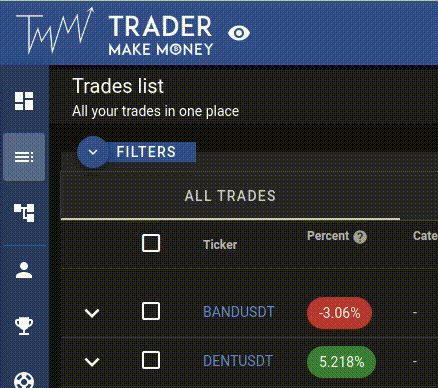
Filters
There are filters hidden by default at the top. Click on the "Filters" button for them to expand.

You can select trades by the required parameters and the result will be immediately available in the table below.
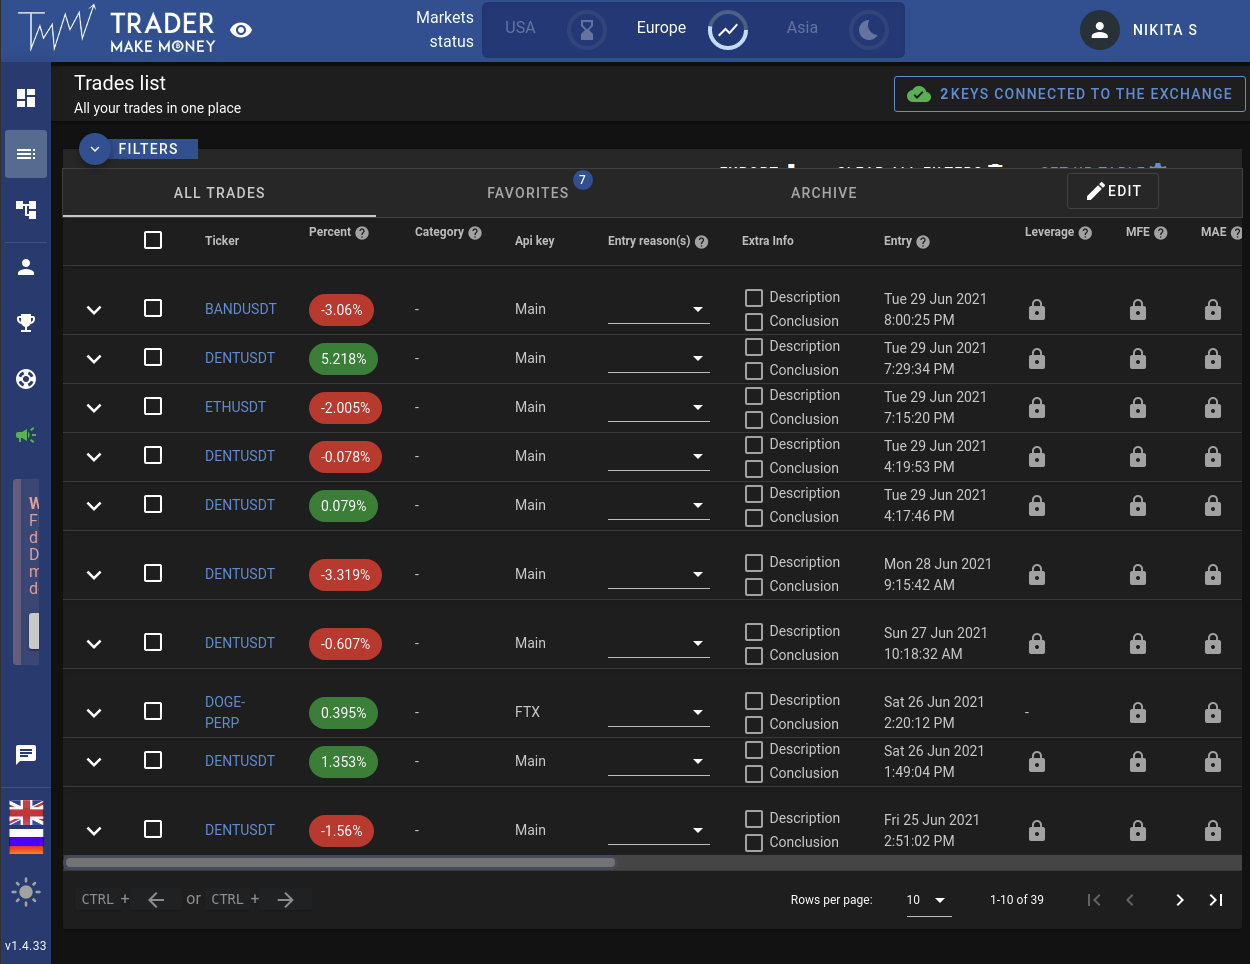
Categories
The categories "Favorites" and "Archive" are available to you by default.
The Archive is not just a category, all transactions in the Archive will no longer be shown in the table and won't be taken into account in your statistics (❗️ except for the Public page, everything is taken into account there).
You can create your own categories by clicking on the "Edit" button on the right.

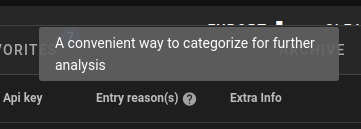
To add a trade to a category, click on the checkbox on the left of the table, and a pop-up window will appear to select a category.
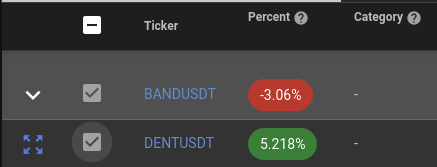
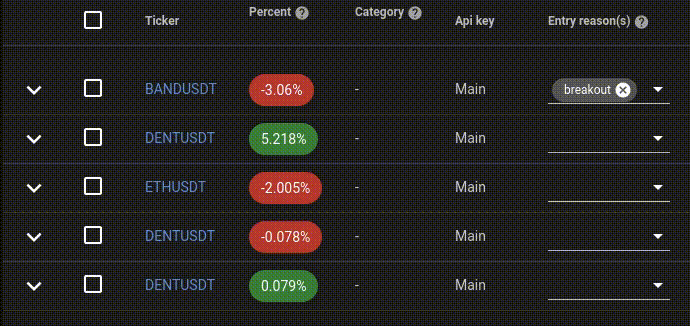
Entry Reasons
Every action must have a reason. Answering the question of why you opened a trade is extremely necessary and helps to avoid extra actions and loss of money.
Let's add a new Entry reason "breakout". To do this, type the name in the column "Entry reasons" and press Enter on the keyboard.
Now you can use this reason in all other trades. And create as many other tags as you like, for example, a "double bottom" for TA figures.
Chart and detailed analysis of the trade
Let's move on to the fun part!
Let's open a trade by clicking on the icon in the very first column of the table:
Now you see a graph with your entries on the left and a panel on the right. In which you can fill in the "description" and "conclusion" for the trade.
You can resize the chart by clicking and dragging the line in the middle.
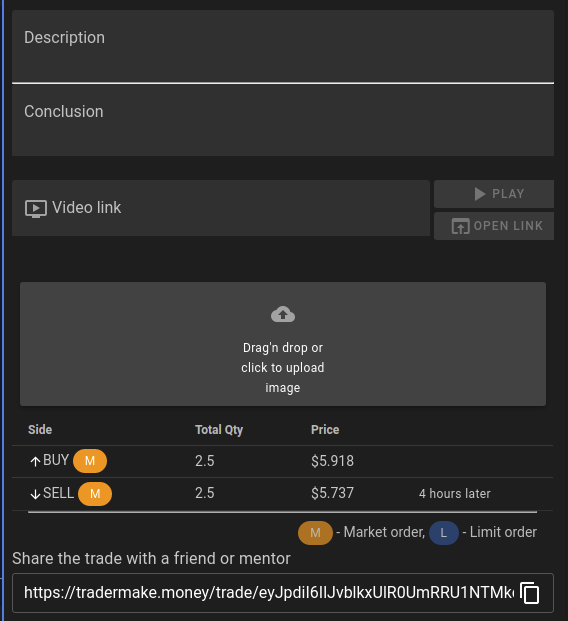
And also add a link to the video if you are recording your trades for deeper analysis.
Upload screenshots from terminal or TradingView (Available only for the Trader and Trader PRO).
See a list of all executed orders for a trade and share a link to your friends.
Setting up a table
It's time to customize the table for yourself. Some columns may not be useful to you, and it is better to hide or swap them. Here you are free to do whatever is more convenient for you.
To do this, go to the "Profile settings" in the left menu or click "Setup table" in the filters section.
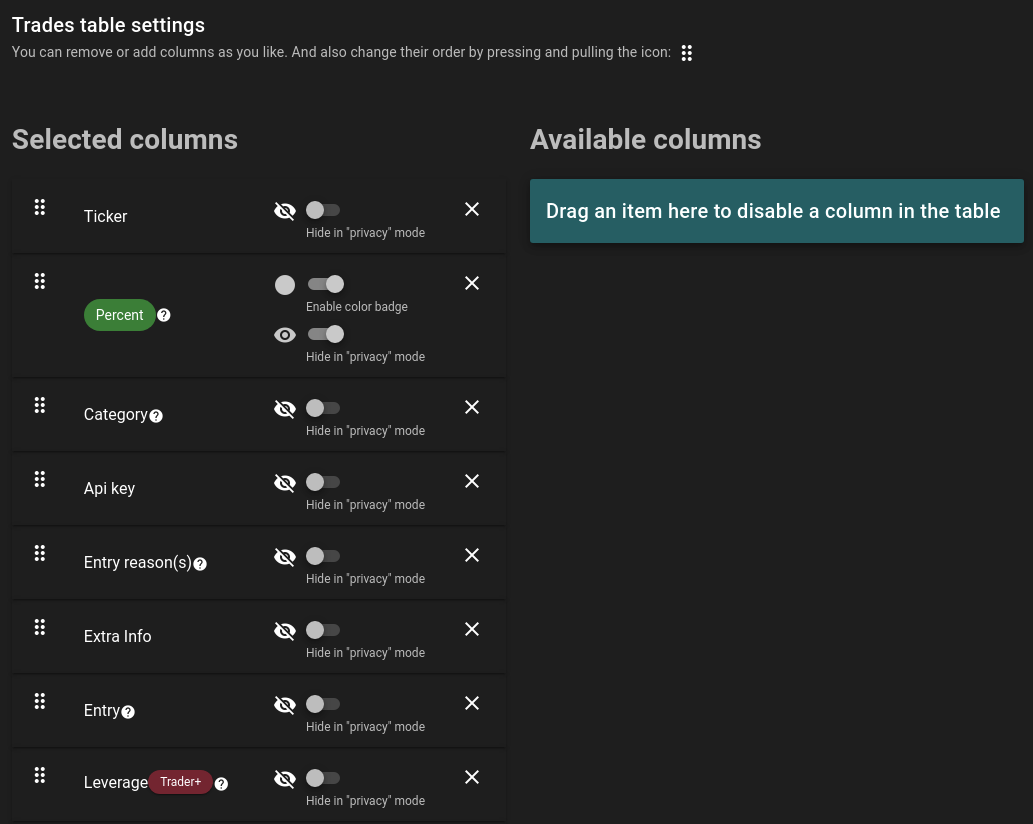
You can hide the column by clicking on the cross icon or by dragging it to the right column.
You can swap columns by clicking on the icon on the left and dragging it up or down.
Turn color highlighting on or off. If the value is positive, the number will be highlighted with a green oval. If negative, then red.
Privacy mode
If you choose to hide the column in privacy mode, then by clicking on the "eye" icon to the right of the Trader Make Money logo, then all private data will be blurred and no one behind your back will see your private data.
This mode works on all pages of the site.
Video instruction 👇🏻
Conclusion
These were the basics of using the "My trades" page. If you still have questions, you can always ask them in our Telegram chat or write your question to us at [email protected]